SplitPaneを使ってみる
🗓️ 2017-12-06この記事はIonic Advent Calendar 2017の8日目の記事です。
フリーランスの村上です。Ionicを使用してv1の頃からアプリを作成しています。
SplitPaneはデスクトップまたはiPadなどのタブレット向けに利用できるコンポーネントです。ざっくり言ってしまえば普段利用しているMenuコンポーネントを常時表示した状態になります。
現在仕事で作っているサイトでSplitPaneを利用しています。実現したいことに対して詰まったのでコードを紹介しようと思います。
まずはサンプルベースでSplitPaneを表示してみます。
一般的なサイドメニューがあるアプリコードをion-split-paneタグで囲むだけで利用できます。簡単ですね。
<!-- app.html -->
<ion-split-pane>
  <!--  our side menu  -->
  <ion-menu [content]="content">
    <ion-header>
      <ion-toolbar>
        <ion-title>Menu</ion-title>
      </ion-toolbar>
    </ion-header>
    <ion-content>
      <ion-list>
        <button ion-item *ngFor="let item of menu1" (click)="changeRoot(item.pageName)">
          {{item.label}}
        </button>
      </ion-list>
    </ion-content>
  </ion-menu>

  <!-- the main content -->
  <ion-nav [root]="rootPage" main #content></ion-nav>
</ion-split-pane>
// menu.ts
export interface Menu {
  pageName: string;
  label: string;
}

// app.component.ts

@Component({
  templateUrl: 'app.html'
})
export class MyApp {
  rootPage: any = 'HomePage';

  menu1: Array<Menu> = [
    {
      pageName: 'HomePage',
      label: 'Home',
    },
    {
      pageName: 'PushRootPage',
      label: 'PushRoot',
    },
  ];

  constructor(platform: Platform,
              statusBar: StatusBar,
              splashScreen: SplashScreen) {
    platform.ready().then(() => {
      statusBar.styleDefault();
      splashScreen.hide();
    });
  }

  changeRoot(page: string) {
    this.rootPage = page;
  }
}
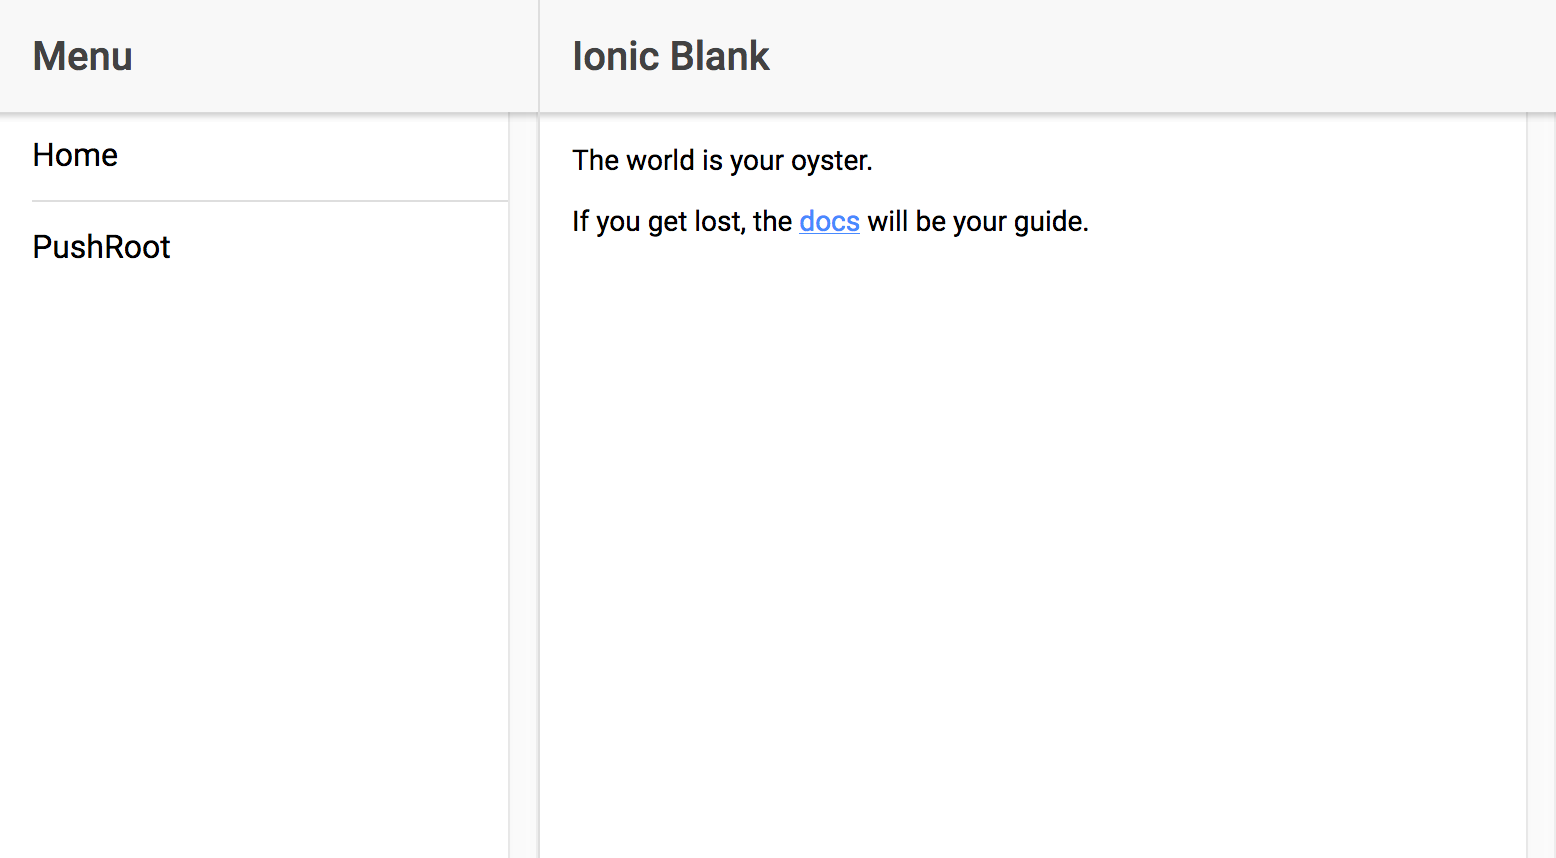
このコードでionic serveすると画像のような表示になります。

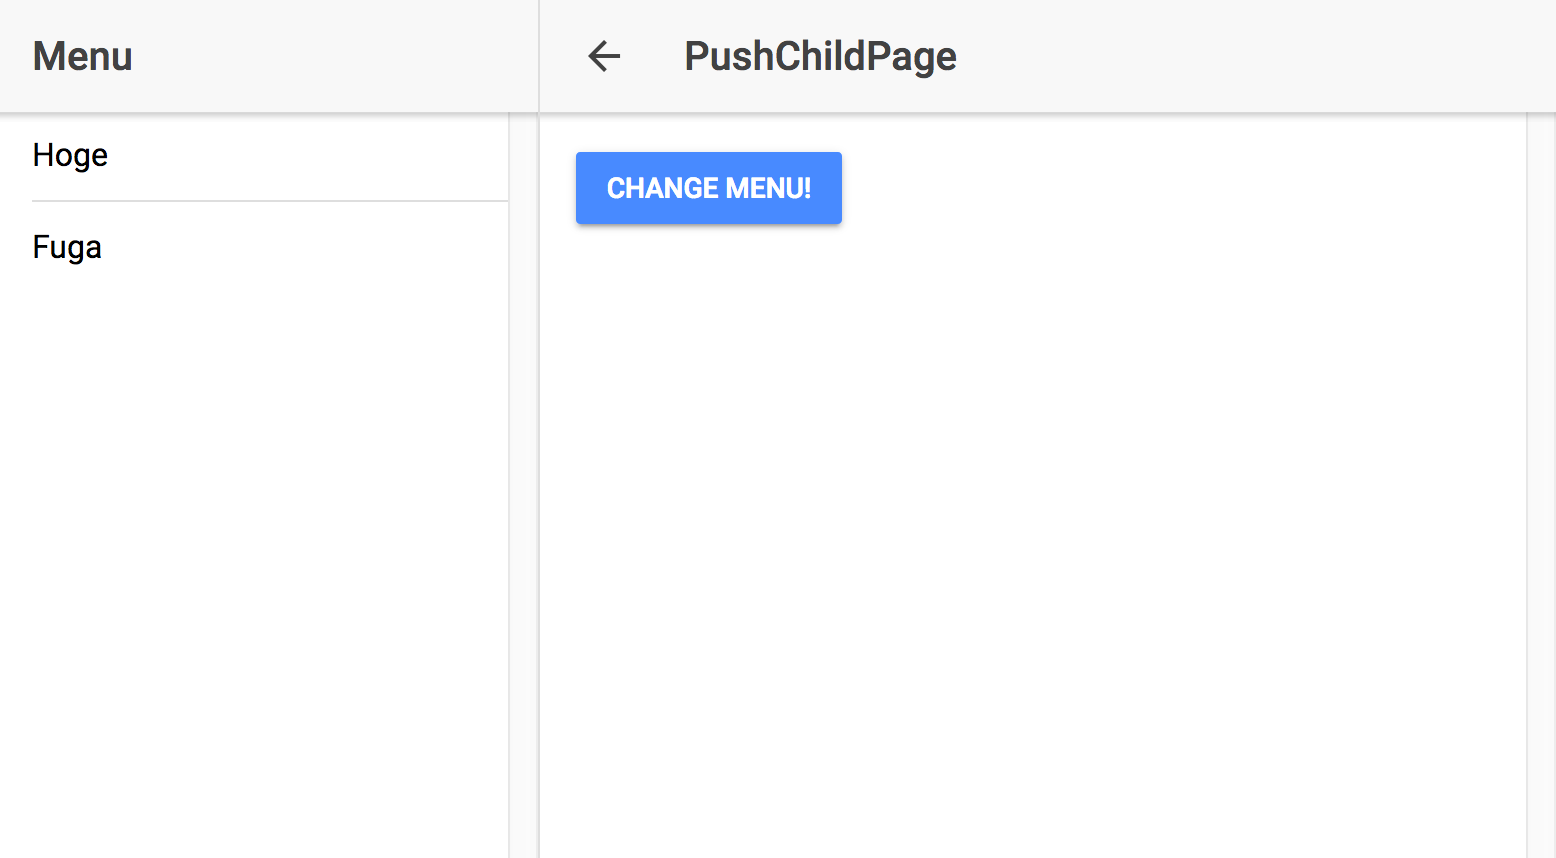
基本的に、MyAppコンポーネントでメインページを制御する感じになります。ここから他のコンポーネントアクションからサイドメニューを変更したい、メインパネルを変更したい場合どうするかになります。今回はAngularのInjectorとRxJSのSubjectを利用して他のコンポーネントからページ変更をできるようにします。
IonicのジェネレータでInjector(プロバイダ)を作成し、MyAppコンポーネントで購読するようにします。
$ ionic g provider SplitPaneProvider
// split-pane.ts
@Injectable()
export class SplitPaneProvider {

  menuSubject = new Subject<any>();
  menuSubject$ = this.menuSubject.asObservable();

  rootSubject = new Subject<any>();
  rootSubject$ = this.rootSubject.asObservable();

  constructor() {
  }

  setMenuPage(menus: Menu[]) {
    this.menuSubject.next(menus);
  }

  setRootPage(menu: Menu) {
    this.rootSubject.next(menu);
  }
}
// app.component.ts
// ref: https://ionicframework.com/docs/api/navigation/NavController/#navigating-from-the-root-component
@ViewChild('content') nav: NavController;

rootNav$: Subscription;
menu$: Subscription;

constructor(platform: Platform,
            statusBar: StatusBar,
            splashScreen: SplashScreen,
            private spp: SplitPaneProvider) {
platform.ready().then(() => {
    statusBar.styleDefault();
    splashScreen.hide();
});

this.rootNav$ = this.spp.rootSubject$.subscribe((menu) => {
    if (this.rootPage !== menu.pageName) {
        this.rootPage = menu.pageName;
    } else {
        this.nav.goToRoot({});
    }
});

this.menu$ = this.spp.menuSubject$.subscribe((menus) => {
    this.menus = menus;
});

this.spp.setMenuPage(this.menu1);
}
これでSplitPaneProviderを注入することで別のコンポーネントから、変更することができるようになりました。

下記のコードですが、HomeRootがRoot状態で別ページにプッシュしてサイドメニューからHomeを押すと同一ルート判定となるため同一ルートの場合はナビゲーション経由で戻るようにしています。
this.rootNav$ = this.spp.rootSubject$.subscribe((menu) => {
    if (this.rootPage !== menu.pageName) {
    this.rootPage = menu.pageName;
    } else {
    this.nav.goToRoot({});
    }
});
このコードのサンプルは下記から試せます。
sugumura/ionic-splitpane-sample
もっと簡単な方法をご存知の方は教えてください…SplitPane情報が増えろ。
明日(9日)はbohebohechanさんです。
